PRO AREAS:
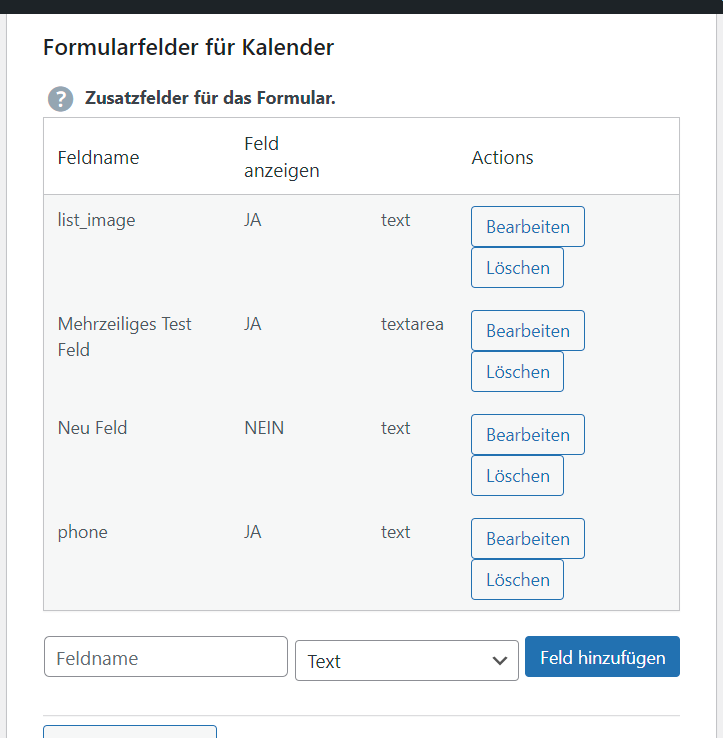

Additional fields
In the free version, you have a standard entry form for appointments. The diary already contains the most important fields for general use.
However, you can use the calendar in the PRO VERSION expand very individually according to your own wishes with as many of your own fields as you like.
TIP: Do not overload the input form and create additional fields very sparingly. Most of the information about an appointment can be entered in the general fields.
Example of an additional field: telephone number or address. If you have a garage and your team enters the dates for tire changes and the employees regularly forget to enter details of the tires that need to be ordered, then a single field with the name may help: Tire-Type-Width-Rims.
Deactivate additional fields
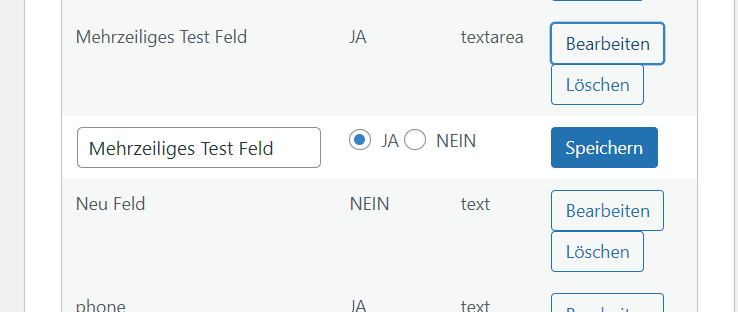
If your diary becomes confusing, you have created too many additional fields. You can activate or deactivate the fields for the form. Deactivated fields are no longer displayed in the forms.
Rename and delete additional fields
You can also rename or delete additional fields. Be careful when deleting. All data collected in these fields will be deleted. If they believe that they no longer need a field, they deactivate it first. The field is then no longer visible in the calendar in the input forms and in the data display. But if they realize that they still need old data from the field, they can reactivate it.
Backup and restore
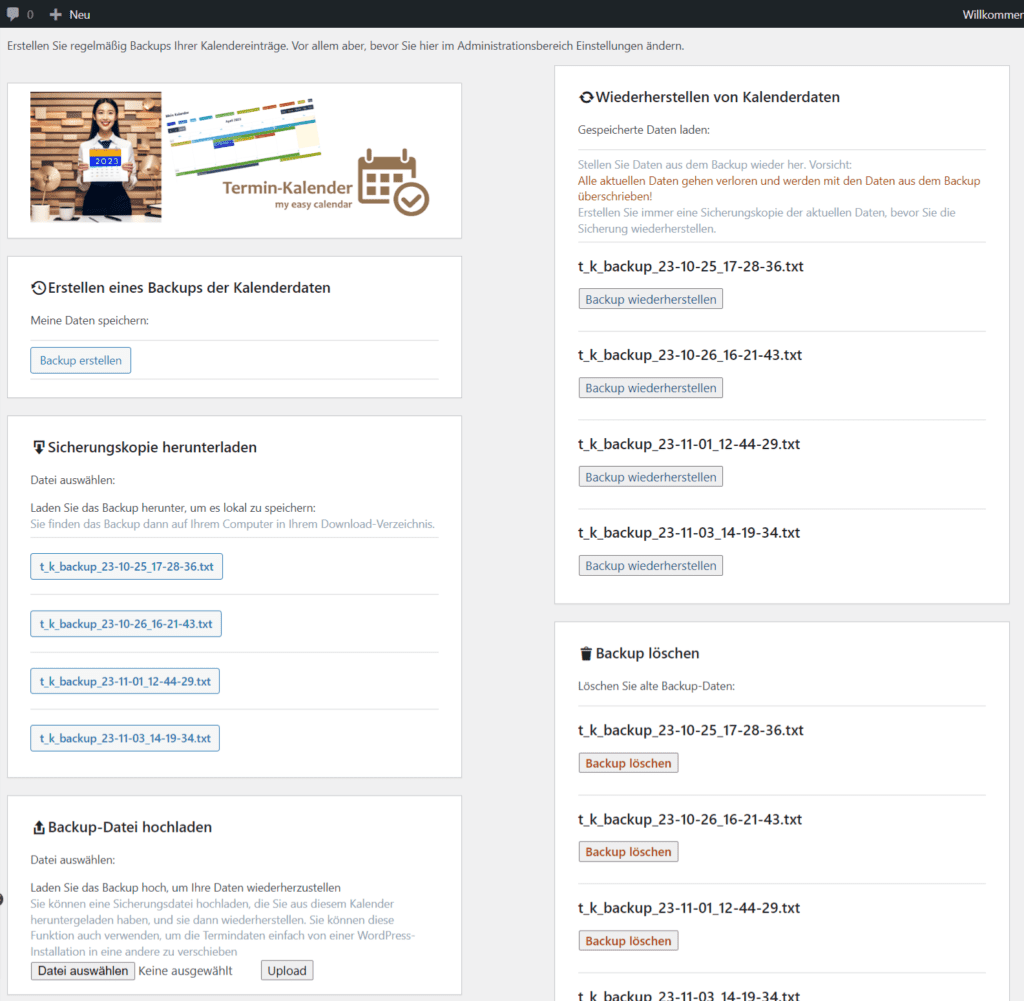
In the PRO-VERSION you can create backup files of your appointments. The backup is stored on the server and can be easily downloaded and stored locally on your computer. You can restore data from a backup at any time with a single click.
Calendar user management
As an admin, you have the PRO-VERSION (full version) full access to the calendar and its settings at all times. All visitors to the page on which you display the calendar can read the dates.
You can use the WordPress functions to restrict the page with the calendar so that it is only accessible to you as admin. Can be opened with a password. Or there are plug-ins or WordPress themes that can control user access to a page.
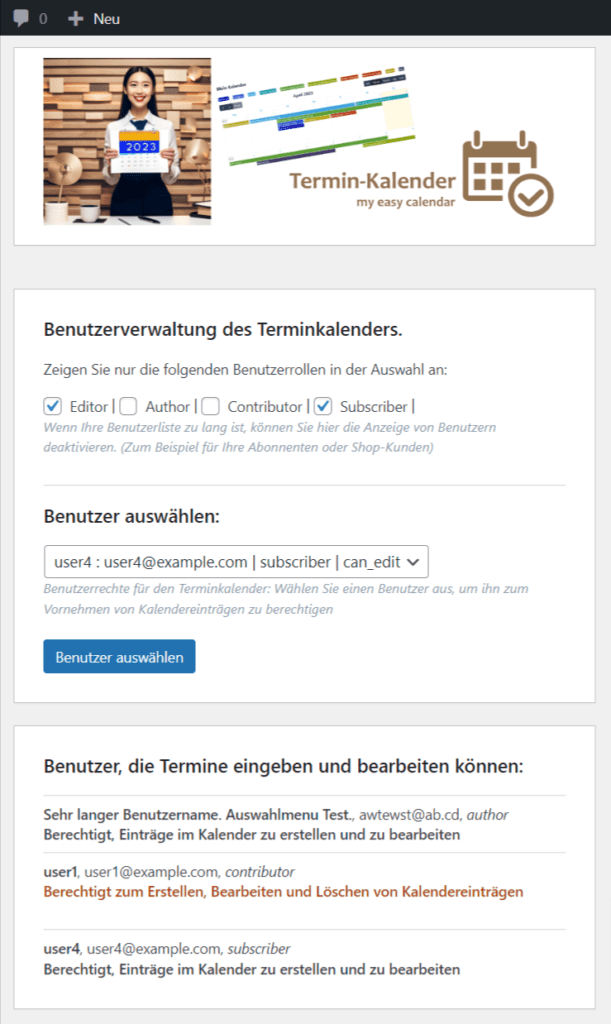
In the appointment calendar settings, you can give the users saved in WordPress the right to to create an appointment. Or the right Create appointment including deleting appointments.
Together with the WordPress page settings, you have full control over who can see the calendar and edit entries.
Further functions are constantly being added
In the appointment form:
Dates Repeat weekly, monthly, annually.
Invite participants to an event, seminar or meeting by email.
Gutenberg blocks:
Reservation form for appointments: As a booking form, for room reservations, for material or vehicle rental, etc.
Appointment list: For event calendars, employee deployment, flexible use.
You can create one calendar per WordPress. With any number of categories (labels/areas) and several reservation forms for different areas and also show several appointment lists. For example, a list for each area you create. (Not to be confused with the list view in the calendar appointment overview)
to edit and add:
Repeat dates:
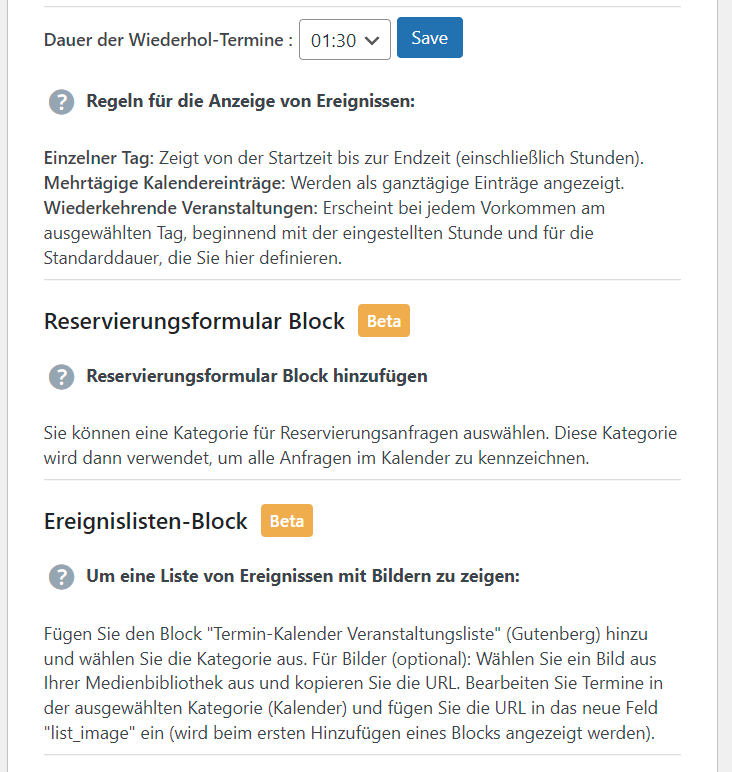
The default duration for repeat appointments is adjustable: They are no longer displayed as full-day appointments, but at the start time with a default duration of 1 hour.
For repeat appointments, the start day of the week and the start time must first be selected and for the end of the repeat appointments, the same day of the week or later AFTER the repeat duration. Then the repeat dates will be displayed.
For example, choose Monday 4 March to Monday 18 or 19 March for a weekly appointment. Then the date will be displayed 3 times: March 4, March 11, March 18.
Invite to appointment in the appointment form: Select participant group from WordPress user list and send invitation email